Wednesday, January 26, 2011

Irish Cream Pie


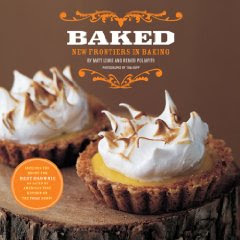
One of my fantastic Christmas presents from my fantastic mr. was this cookbook:


He knows very well that I like booze. And I like baking with them--they add complexity of flavor that you can't get with anything else. And there are so many recipes in here that I'm itching to try. Now, before you get all het up about my boozy baking and feeding baked goods to children...don't. The very last thing I need in my house is for my 8- and 11-year olds to be walking around buzzed. They sass me enough as is. So, trust.

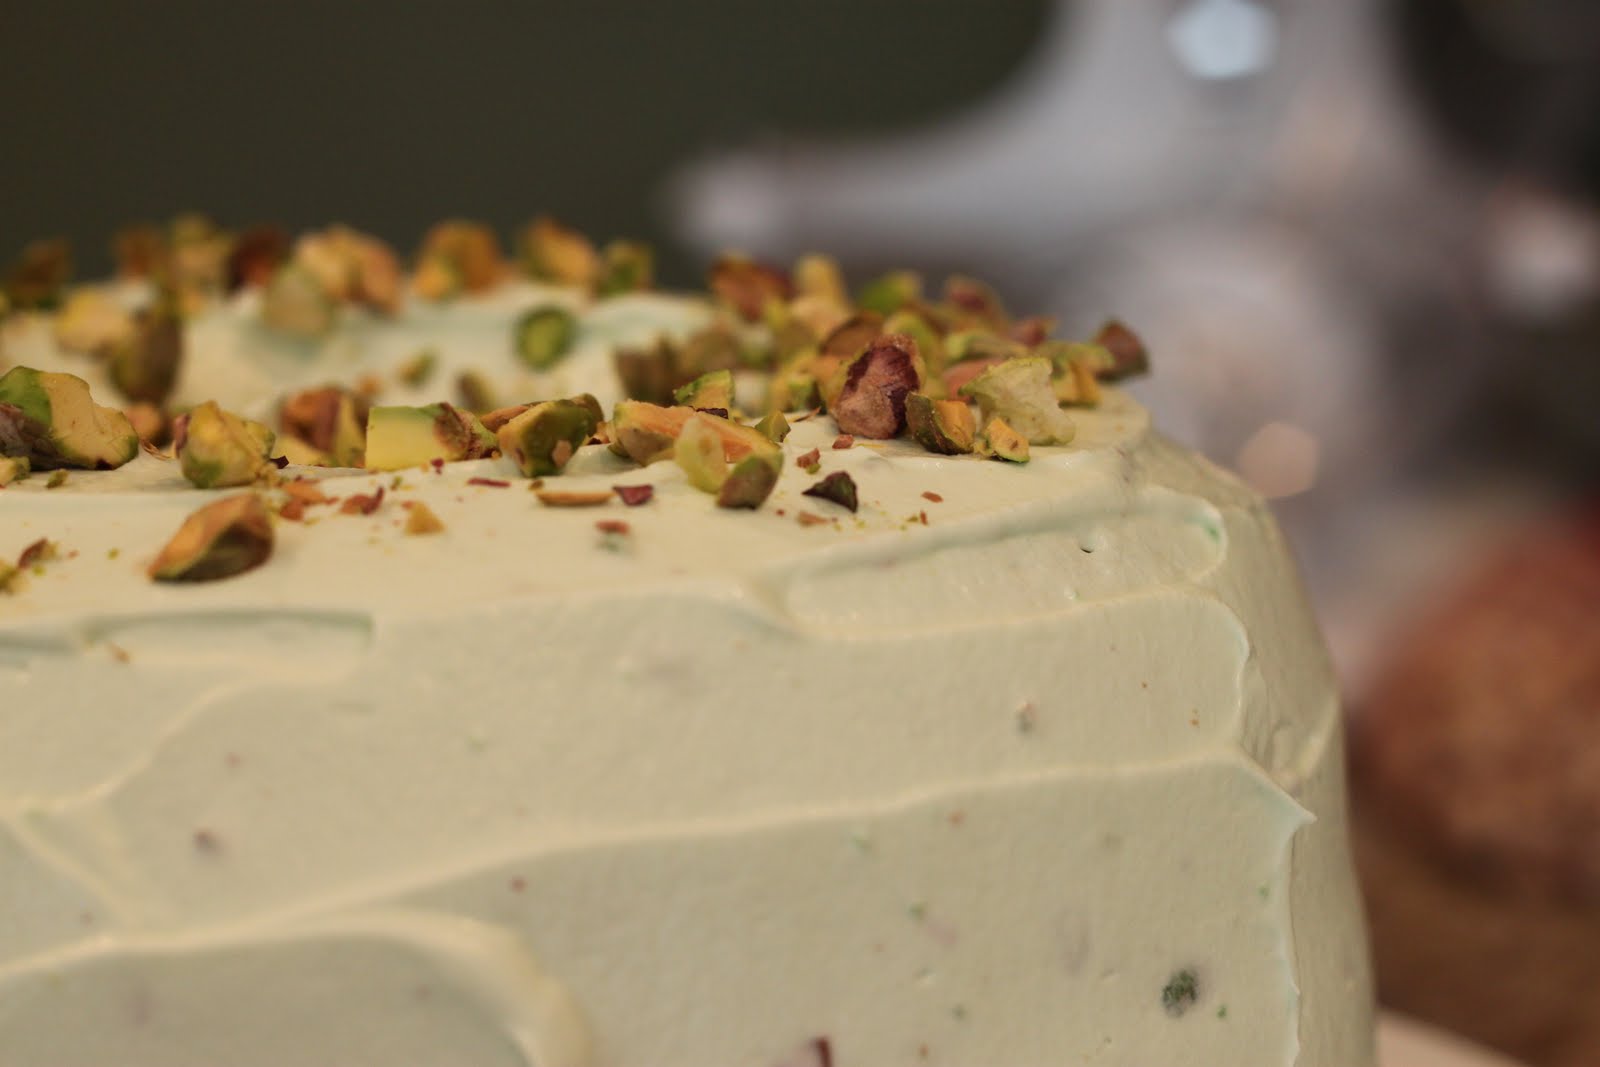
Anyway, Sunday was National Pie Day--one of three annual celebrations of pie that I know of (not including Thanksgiving, AND there really should be more, IMO), and I wanted to make a pie that I hadn't before. This little book had the perfect thing: Irish Cream Pie. It's a basic cream pie--gelatin, sugar, egg yolks to make a custard--with a little Irish Cream (Bailey's only at our house, Carolan's=NO), folded together with whipped egg whites and whipped cream. All piled up in a chocolate cookie crust.


So so so delicious. I make a cheesecake that is very similar, so I thought I'd do what that recipe calls for and add chocolate chips. It was a stroke of genius. If I was to make this recipe again (which I probably will--on St. Patrick's Day, or I'll try the alternate version using Kahlua instead of Bailey's), I would do two things differently:
  1. Strain the "custard" before adding the Bailey's. There were some little masses of eggy, gelatinous stuff that I didn't really like the look of. It didn't affect the texture of the pie ultimately, I just didn't like the looks of them.
  2. Use mini chocolate chips or chop regular-size chips into smaller pieces. The regular-size chips work well in cheesecake because it is baked, so they get a little soft. In this, it was sort of jarring to have a relatively large crunchy piece in opposition to the soft creaminess of the rest of the pie. A little smaller crunch would be perfect.

TGIP Rating--Irish Cream Pie--KEEPER. Make a couple of fixes and try the alternate version.

Next up: I'm about to go into rehearsal, so it will be a couple of weeks before I bake again (never fear, there will still be interesting things here). But when I do bake next, it will be for Valentine's Day. And it will be Whoopie Pies. Which I don't think I've ever tasted, let alone baked. I can't wait! And yes, you can look forward to many jokes about making whoopie.

Wednesday, January 19, 2011

Mostly Whole Wheat Sourdough Bread


Such a great success with this recipe! I added a little more white flour to the original recipe, used bread flour, as opposed to all-purpose and added a huge dose of patience. I also used a new starter, from my friend Frankie Pistlekahk. It's a very unassuming starter, no fireworks. But the two recipes I've used it in have turned out perfectly. So, I guess I don't really know which of those factors made for a better result, but I'm not going to argue with it. Here's the recipe:


Mostly Whole Wheat Sourdough Bread
*click here for printable version*
adapted from an unknown source
Makes 2 8x4 loaves

Make the sponge:
1 c. sourdough starter
1-1/2 c. hot water (I heat mine in the microwave for about 2 minutes)
2 c. whole wheat flour

The night before you intend to bake the bread, put all ingredients in a large mixing bowl or the bowl of your stand mixer. Whisk together until thoroughly combined. Cover with plastic wrap and place in the oven with the light on (a warm place) for 8 to 10 hours or overnight. The sponge will become very frothy and almost double in volume.

Make the dough:
1 c. warm water (I heat mine in the microwave for about 1 minute)
2 packages (4-1/2 tsp.) dry yeast
2 tsp. salt
1-1/2 c. white bread flour
2-1/2 c. (or less) whole wheat flour

1 T melted butter OR 1 egg white (optional)
sunflower seeds or sesame seeds (optional)

Remove the sponge from the oven and stir it down. Sprinkle the yeast over the top and stir. Sprinkle the salt over the top and add the warm water. Stir for 2 minutes.

Add the bread flour and the whole wheat flour ¼ cup at a time. Stir until it is completely absorbed before adding the next ¼ cup.


I recommend doing this in your stand mixer with a dough hook--only add as much flour as needed for an elastic, only slightly sticky texture. That may be 1/2 cup less than called for in the recipe. After you have added all the flour you need, cover the bowl with a damp towel and allow it to rest for 15 minutes. After resting, knead the dough on low for 5 minutes, then as it becomes more elastic, turn it up to medium and knead for another 5 minutes. Sprinkle a small amount of flour in as necessary to control stickiness.

If you are doing this by hand, you can stir until it becomes impossible and then use your hands to mix the flour into the dough. Again, only use as much dough as necessary for an elastic and not too sticky consistency. After adding the flour, cover the bowl with a damp towel and allow it to rest for 15 minutes. After resting, knead the dough by hand for 10 minutes, adding flour as necessary to control stickiness

After you have kneaded the dough (by either method), allow it to rest, covered with a damp towel, for another 15 minutes.

Divide the dough in two and form into balls. Let rest for 5 minutes.

Form each loaf by flattening one of the balls by hand into an oval slightly longer than your bread pan (use 8x4 inch pans). Fold the oval in half lengthwise and pinch the seam together. Turn it over, seam side down, to place into the pan, tucking the ends underneath.


Cover the pans with a dry towel and set back in your oven with the light on. Allow to rise until the dough is above the top level of the pans, approximately 1 hour.


Remove the dough from the oven and preheat to 425 degrees. Before baking, if you want a decorative loaf, brush the tops with melted butter, or with egg white if you want to sprinkle seeds and have them stick. Then slash the tops of the loaves with a very sharp knife. Bake at 425 for 20 minutes. Then turn the oven down to 325 degrees and bake for another 35 minutes. When they are done, the loaves should be brown and sound hollow when you thump them.

Turn the loaves out onto a rack to cool.


The best thing about the way this turned out is that it has a great sourdough flavor and texture, a little chewy, a little, well, sour. It doesn't taste like whole wheat bread, it tastes like a hearty sourdough. It's dense enough to be easily sliced into thin slices for sandwiches, but it's not heavy at all.


I have to say, it's one (or two, as the case may be) of the best loaves of bread I've ever made.


TGIP Rating--Mostly Whole Wheat Sourdough Bread--KEEPER

Next up: Sunday (the 23rd) is National Pie Day, so naturally, I'm making a pie. What kind I make is still the subject of great debate in my house. Seconda doesn't want anything with caramel, but I do. Prima wants a grasshopper pie. I have a decision to make. Help?

Wednesday, January 12, 2011

Midweek Projects 3: Watergate Cake--A Prima Project


Feeling nostalgic. Kind of. Remember when recipes were basically just a list of pre-packaged ingredients you could find at any grocery store: one 14.5 oz can of fruit cocktail, one box yellow cake mix, one box vanilla instant pudding, etc.? I appreciate the convenience of these kinds of ingredients. I appreciate the fact that their wide availability revolutionized the way we cook in our homes. I don't particularly like to bake using these kinds of ingredients anymore (with this notable exception). And, god knows, I mercilessly mock people who've made a career out of using these kinds of ingredients. But, BUT, they are great for young kids who are learning to cook. There's less chance of failure or less than desirable results, so it builds confidence in cooking ability while a child is learning techniques such as measuring, cracking eggs, etc. That's how I started out baking: packaged cake mixes, packaged brownie mixes.

My Prima and her friends make up skits to perform for their class at school. They call themselves the Lima Beans. (Keep reading--this does have something to do with baking)


They've gone high-tech since Prima got a Flip video camera for Christmas. They decided they wanted to do a Lima Beans Birthday skit and film it. Naturally, a birthday requires a cake. AND, coincidentally, Prima had found a recipe for a green cake in one of her American Girls cookbooks. This one to be exact:


This American Girl (Julie) is from the 1970's, and the recipes in this book are "70's inspired". The Pistachio Cake recipe is original. From when Jell-O first introduced pistachio pudding.


Which, it needs to be said, doesn't taste anything like pistachio. This cake is sometimes called Watergate Cake, and the reason for that...is the stuff of urban legends. Go here to see some interesting history and original Watergate Cake recipes from the 1970's. I love stuff like that.

For me, it was too sweet, too processed. BUT, Prima did it almost completely by herself (I had to help with frosting the cake--it's harder when you're using a loose, cool whip-y frosting), and she felt great about the result.

It did make me want to come up with a modern version of it. One that actually tastes like pistachios. Of course, there's the Aunt Sassy Cake in BAKED: Explorations, which I fully intend to make this Spring. But I want something that is very light with a (real) whipped cream frosting, and is reminiscent of the Watergate Cake. Perhaps not so...green.


Will add it to the list of projects to do.


P.S. I sing the praises of silicone bakeware. I might have to start amassing my own collection (this one belongs to Prima).

Wednesday, January 5, 2011

Breakfast Pastries

Don't ask me how it happened, because the camera is usually to be found in the kitchen these days--but I neglected to take pictures of Christmas morning's Farm Stand Buttermilk Doughnuts. You'll just have to trust me that they tasted delicious and looked beautiful. The BAKED boys win again--this recipe is CONSIDERABLY easier than the cake doughnut recipe mr. has been using up until now. And even more tasty. The chocolate glaze is a little rich, especially for kids. And we didn't try the vanilla glaze. But frankly, all I want from a doughnut is cakey goodness--no filling, toppings, glazes or sprinkles required. I know others feel differently about that, namely, my children. But for me, this recipe, NAKED, is perfection.

I did, however, remember to take pictures of New Year's morning's Monkey Bubble Bread.


Okay, so it's not quite as pretty as the one in the book, but who cares?!--it tastes yummy! The dough is not overly sweet, so the sweet coating is allowed to sort of...be the star. There were 6 of us at breakfast, one of us (not me) hardly ate any, and somehow the whole thing was devoured within 10 minutes. When they say there won't be any leftovers, they mean it. I used the "don't get up too early" method: prepped all of it, up to the rise, the afternoon before and refrigerated it.


Then I got up about 8 am, shoved the thing in the oven with the light on (a warm place), went back to bed and let it sit there until probably 10, when the balls were puffy enough that their sugary coating was starting to crack, then baked it.

Overall, a super easy recipe--Prima even helped me with the sugar coating.


Not easy enough to be something that I'll do every weekend, but easy enough to be something special on those weekend and holiday mornings that call for something better than boxed cereal.


TGIP Rating--Farm Stand Buttermilk Doughnuts and Monkey Bubble Bread--both KEEPERS. This Doughnut recipe especially will be well-loved (and likely stained) from future Christmas Day usage.

Next up: Remember how I mentioned the extremely large amount of whole wheat flour I currently possess? I'm going to use some. To make whole wheat sourdough bread. I have a recipe that I vaguely remember trying, but not blogging about. In my vague memory it was kind of a fail. This time I have some ideas about how to make it better--those ideas include, but are not limited to: setting aside enough time for rising, and giving myself a big dose of patience.